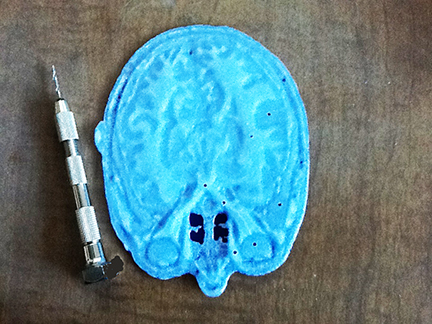
Note that the top surface in the above image of the 3D printed human head section has small holes drilled into the areas about which information is going to be delievered when touched. The hand drill used to make the holes is located to the left of the 3D print section.
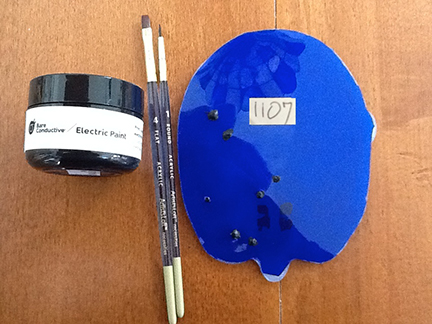
The above image shows the bottom side of the 3D printed human head section with holes drilled into the section and the holes are now filled with Electic Paint which contains electrically conductive graphene. A bottle of Electric Paint and paint brushes used to add conductive paint are also shown to left of 3D print.
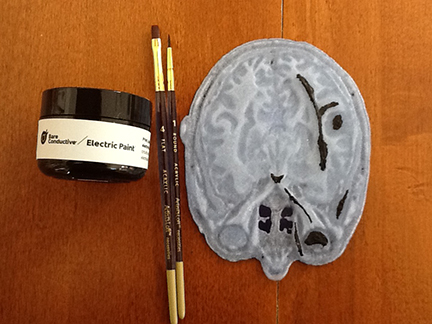
The above image shows the top surface of the 3D print of the human head now shows where black conductive paint has been added onto the surface so that the top of the 3D print in those regions can now carry a fingertip electrical charge down to the other side which will be placed on top of an iPad with audio buttons.
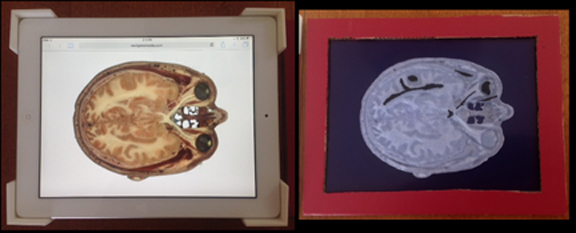
iPad on left shows graphic of head section that the 3D print on right was made from. iPad also shows four 3D printed "holders" designed to hold the 3D print audio-enriched template on iPad surface without moving so that the conductive paint remains over the audio buttons on the iPad.
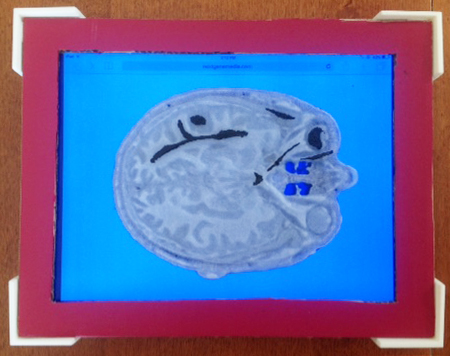
Above image shows the fully assembled 3D printed audio-enriched template.
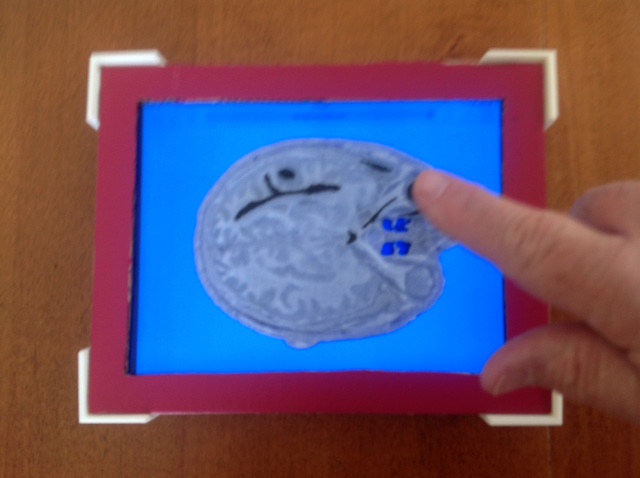
Above image shows a finger touching eye region of audio-enriched template which will cause audio button on underlying iPad to generate eye sound.