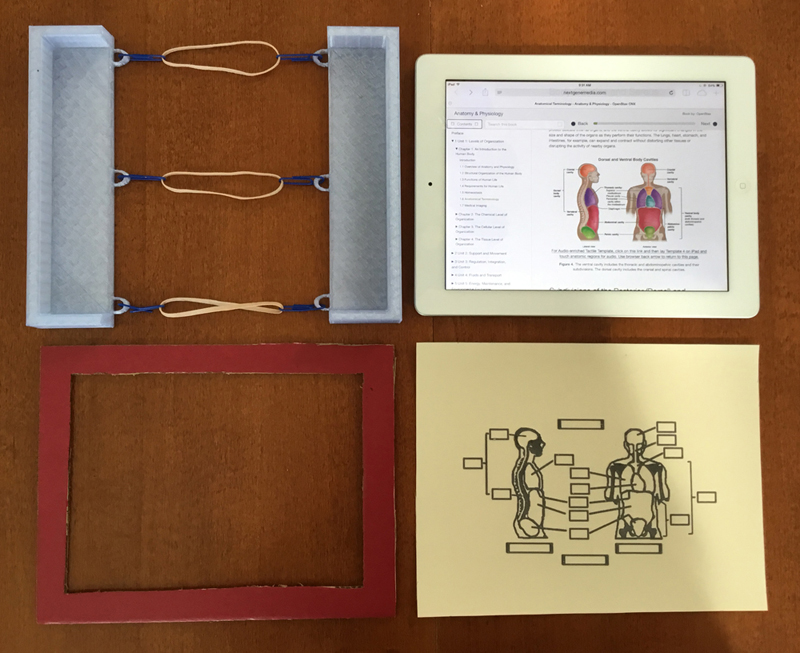
Note the 3D printed holder (upper left) into which the iPad (upper right) will fit and then on top of the iPad, the raised line graphic of Figure 4 (bottom right) will be placed and the red mat (bottom left) which is cut to fit snug in the blue holder, is then placed on top of raised line graphic to hold it in place so tactile audio areas are over the audio buttons on the iPad graphic. When ready to assemble the audio-enriched tactile template, select the link below the Figure which will connect to the graphic containing the audio buttons.
The following image shows the iPad placed into the blue iPad holder and note that the image on the iPad has changed to show now the same image that is on the raised line graphic. The image on the iPad now has audio buttons in the rectagular regions and when these rectangular regions are touched, audio is generated.
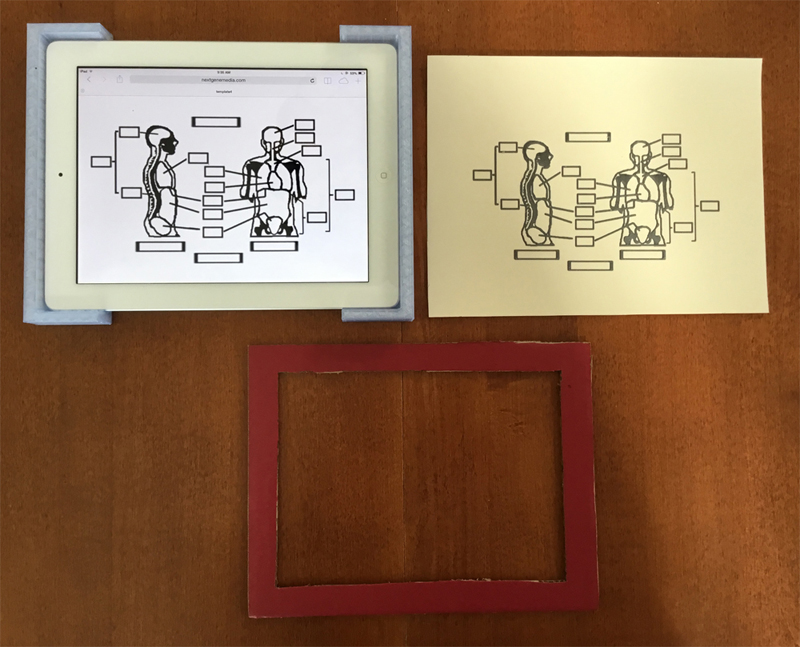
The raised line graphic for Figure 4 is placed on top of the iPad in the blue holder.
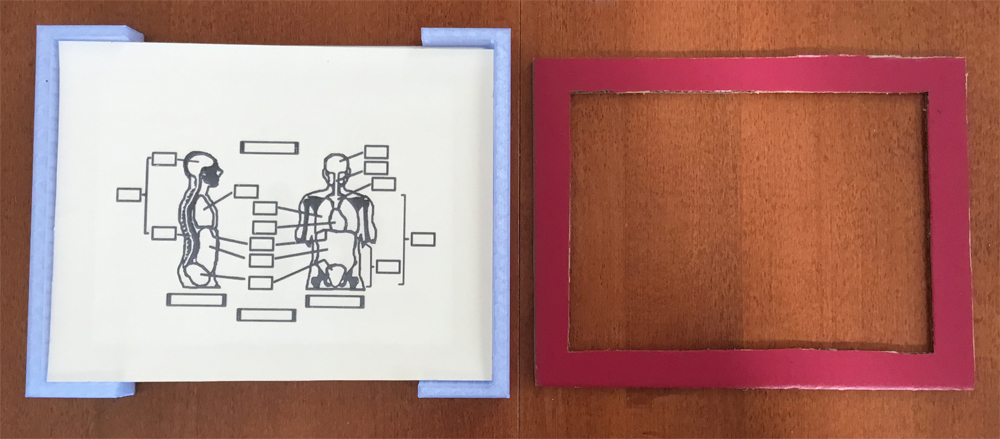
The red mat is placed on the raised line graphic to hold it in place and now a fully assembled Audio-enriched Tactile Template is shown.
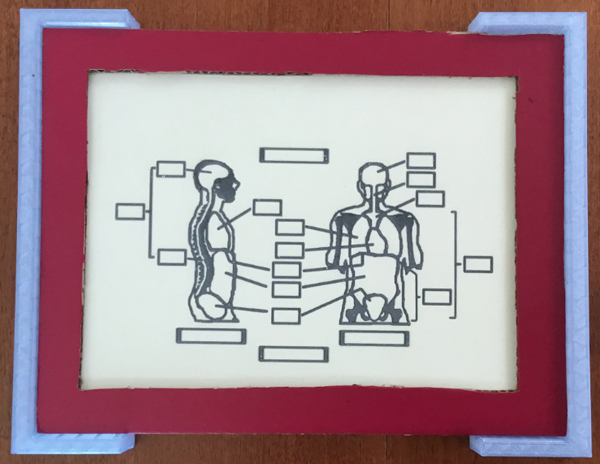
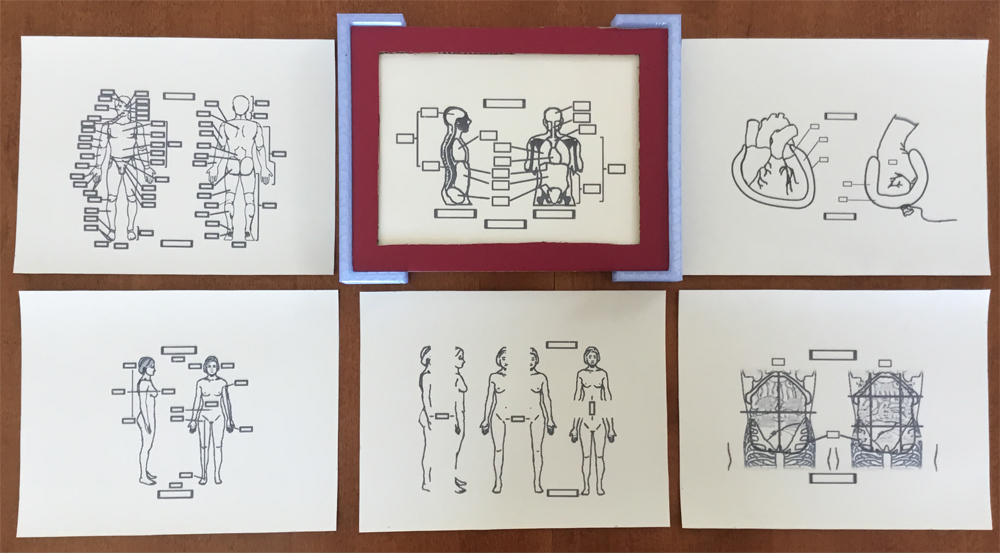
Fully assembled audio-enriched raised line graphic with other raised line graphic pages that appear in the OpenStax Unit 1 Chapter 1 for the Introduction section.
 >
>